
Last updated October 16, 2026
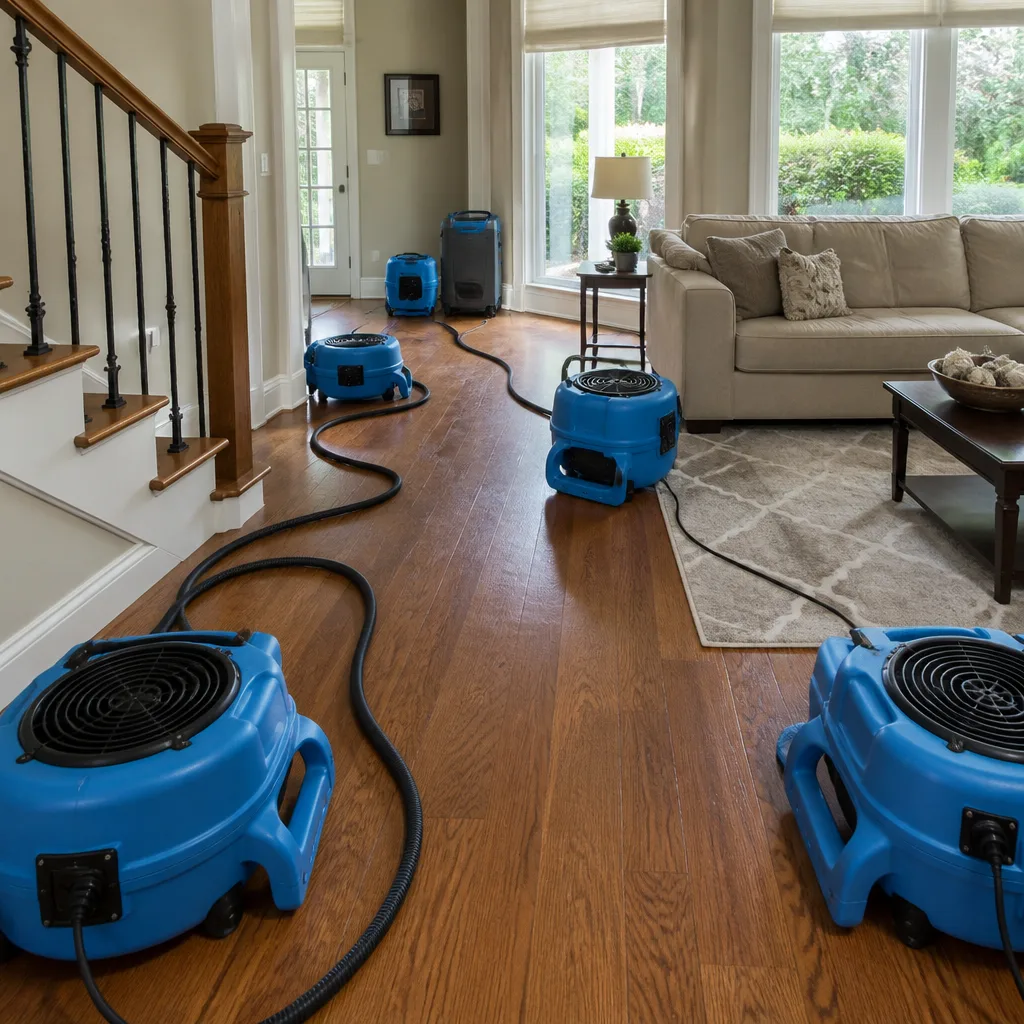 Water damage drying
 Fire & smoke cleanup
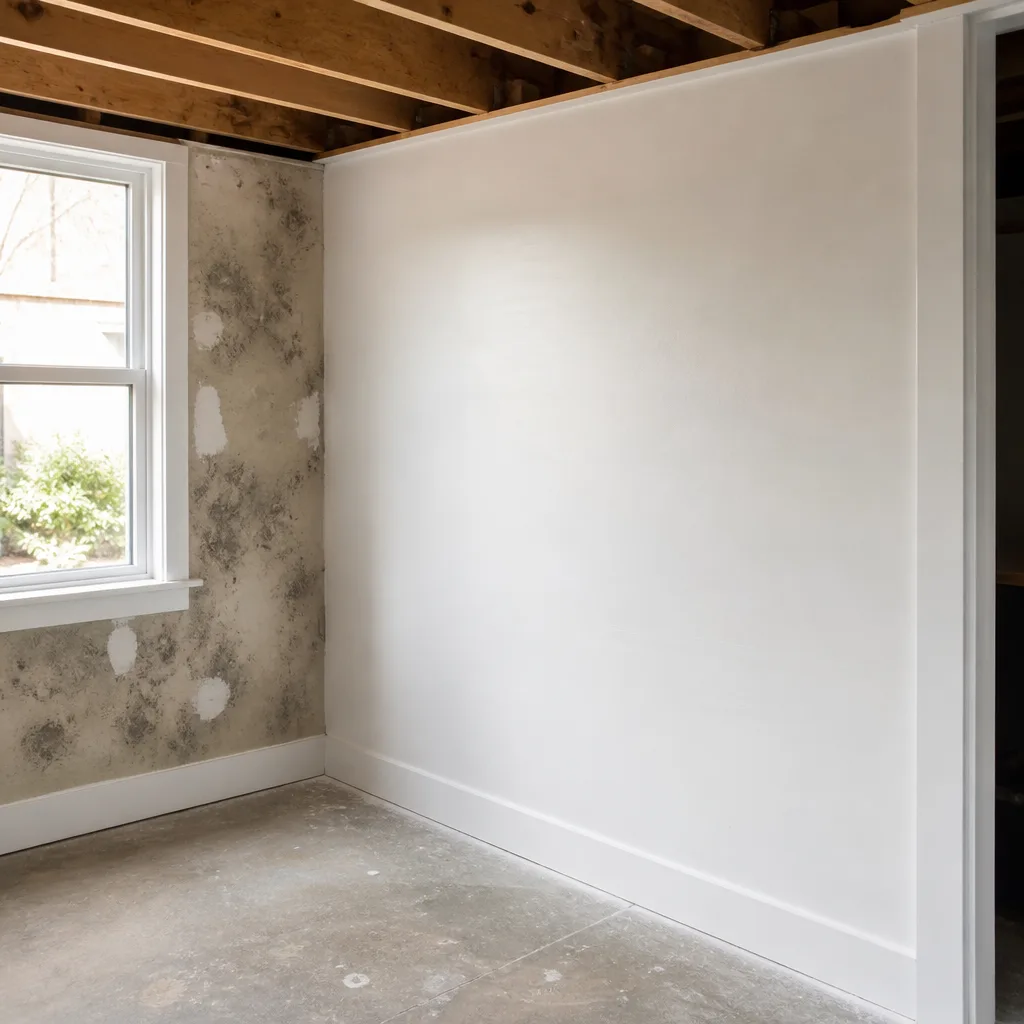 Mold remediation
 Storm response
 Sewage cleanup
 Reconstruction
Free visual inspection and a written scope of work before any mitigation begins - photos, moisture readings, and drying logs go in your claim file
The scope we write is the scope we bill. Anything new gets shown to you, in writing, before we touch it.
Get your free estimateDIY vs Professional Damage Restoration: The San Antonio Homeowner’s Decision Guide
A fan and a dehumidifier from a hardware store move roughly one-quarter the air volume of a professional low-grain refrigerant dehumidifier. In San Antonio’s summer humidity, that gap is the difference between a wall cavity that actually dries and one that grows a mold colony behind the baseboard while you’re sleeping. This guide walks through exactly when you can handle water damage yourself, when you shouldn’t, and what most homeowners in San Antonio never see coming until the smell starts.
Restoration work we handle
Quick Answer
DIY water damage restoration is only appropriate when the affected area is under 10 square feet, the water is Category 1 (clean supply water), saturation lasted less than 24 hours, and only non-porous surfaces got wet. Everything else requires professional equipment because consumer tools cannot pull moisture out of hidden cavities fast enough in San Antonio’s humidity. If you’re not sure, call (325) 230-0537 for a free assessment before you make a decision.
Table of Contents
- The Real Threshold: When DIY Is Actually Legitimate
- The Equipment Gap: What the Numbers Actually Mean
- Three Hidden Failure Modes in San Antonio Homes
- The Insurance Conversation Nobody Has Before They DIY
- What “Professional” Actually Means in Verifiable Terms
- DIY Done Right: The Steps That Actually Work
- Common Mistakes to Avoid
- When to Call a Professional
- Frequently Asked Questions
- The Bottom Line
The Real Threshold: When DIY Is Actually Legitimate
There’s a persistent myth that doing your own water damage cleanup is either always fine or never fine. The truth sits in a narrow band, and the IICRC (the organization that sets the industry standard for water restoration) gives us a workable framework. Their general guidance: DIY is acceptable when the saturated area is under 10 square feet, the water came from a clean source, the water sat for less than 24 hours, and only non-porous materials like tile, sealed concrete, or vinyl got wet.
Let’s walk through what that means in a real San Antonio house.
Category 1 water only. This is water from a supply line: an overflowed bathtub fed by tap water, a supply line under the kitchen sink that popped, a water heater leaking clean water. Category 1 becomes Category 2 (gray water) after about 24 to 48 hours as it picks up contaminants from whatever it touches. If the water came from a washing machine that’s seen detergent and soil, a dishwasher, a toilet that overflowed with anything but clean supply, or storm water that entered the home, it’s not a DIY job. Full stop.
Under 10 square feet of material saturation. This is a bathroom floor, a small closet, a section of hallway. If the water spread across multiple rooms, traveled through a wall, or ran under baseboards into adjoining spaces, the surface area of the affected drywall, insulation, or flooring almost certainly exceeds the threshold. Water moves sideways through wicking action faster than most people imagine.
Under 24 hours elapsed. San Antonio’s average indoor humidity during summer months runs between 55 and 65 percent before you even add a water event. Once drywall and wood absorb water, mold germination can begin in 24 to 48 hours in those conditions. If you found the leak on Saturday morning but don’t know when it started, assume it started before you found it. The clock is not on your side.
Non-porous surfaces only. Tile, sealed concrete, vinyl plank. Not drywall, not carpet pad, not hardwood, not engineered wood, not insulation. Porous materials wick water below the visible surface, and the only way to dry them is to remove them or to place mechanical drying behind and beneath them, which requires professional equipment and training.
- Water category: Category 1 only. Anything gray or black is a professional job.
- Surface area: Under 10 square feet of material saturation.
- Elapsed time: Under 24 hours from water release to response.
- Materials affected: Non-porous surfaces only. No drywall, no carpet pad, no wood.
If all four boxes are checked, you can reasonably handle the extraction and drying yourself with appropriate caution. If any one box is not checked, the risk of hidden moisture remaining in wall cavities or subflooring in a San Antonio summer is not hypothetical. It’s documented. We see it weekly.
For context on what happens when water goes beyond the clean category, read Water Damage Restoration in San Antonio for a deeper breakdown of what our technicians do differently starting on day one.
The Equipment Gap: What the Numbers Actually Mean
Here’s where the DIY-versus-professional question stops being about skill and becomes about physics.
A typical box fan from a home improvement store moves between 1,500 and 2,500 cubic feet per minute (CFM) of air. A professional air mover from a company like Phoenix or XPOWER moves between 3,500 and 5,000 CFM, and that air is directed with focused velocity across a wet surface to force evaporation. The difference is not just more air. It’s air moving with enough speed to pull moisture molecules off the surface layer of wet material.
More important is the dehumidifier question. A consumer-grade dehumidifier from a hardware store typically pulls 30 to 50 pints of water per day at 80°F and 60 percent relative humidity. A professional low-grain refrigerant dehumidifier from Phoenix or B-Air pulls 130 to 225 pints per day under the same conditions, and it keeps pulling at lower humidity levels where consumer units stall out. Low-grain refrigerant dehumidifiers continue extracting water down to 30 percent relative humidity in the air. Consumer units stop being effective around 45 to 50 percent. That remaining moisture is exactly what feeds mold in a wall cavity in a San Antonio summer.
The numbers matter because the goal of structural drying is not to make the surface feel dry. The goal is to get the moisture content of the affected materials back below 16 percent wood moisture equivalent, and to get the air in the enclosed cavity below 45 percent relative humidity, before mold spores germinate. In San Antonio, where the average summer dew point runs between 70 and 75 degrees, a consumer dehumidifier working alone will take two to three weeks to reach that target in a wall cavity if it reaches it at all. That is ten to fourteen days too long.
What our technicians use, and what separates a professional scope from a rental counter: thermal imaging cameras to map the full extent of moisture migration before any equipment is placed; penetrating and non-penetrating moisture meters that measure moisture content inside materials, not on their surface; and a drying chamber approach that uses focused negative air pressure and dehumidification to pull moisture out of cavities in three to five days instead of three to five weeks. The equipment brands we run, including Dri-Eaz, Phoenix, XPOWER, and B-Air, are the same machines used by restoration specialists across the country. They’re not sold at retail.
That’s the gap. Not skill. Not effort. Measurement and air volume. A homeowner can work for two weeks with a box fan and a rental dehumidifier and still leave a wall cavity at 35 percent moisture content, which is a mold invitation. A professional sets a target day, measures to it, and documents the whole thing.
Three Hidden Failure Modes in San Antonio Homes
Every climate has its own way of betraying DIY drying efforts, and San Antonio’s construction stock creates three specific patterns-covered in our Seasonal Damage Restoration Care for San Antonio: Year-Round Homeowner’s Guide-we see on a regular basis when we’re called in after a homeowner tried to handle it themselves.
1. Pier-and-beam subfloors that wick from below. A significant portion of San Antonio’s older housing stock, especially in neighborhoods like Alamo Heights, Mahncke Park, Monticello Park, and parts of the Government Hill area, sits on pier-and-beam foundations. That means there’s a crawlspace under the house. When water spills on the hardwood floor upstairs, it drains through the gaps between boards and saturates the subfloor from above. But the subfloor then wicks moisture into the crawlspace air, which in San Antonio’s summer is already warm and humid. The surface floor dries. The subfloor doesn’t. A homeowner running a fan in the living room is doing nothing for the underside of the floor. The only way to dry a saturated subfloor over a crawlspace is to seal the crawlspace, place a dehumidifier down there, and possibly use an Injectidry-style mat system that pulls water through the floor from above and channels it into a vacuum. That’s not a hardware store rental.
2. Stucco exteriors that trap moisture behind them. Many San Antonio homes built from the 1980s onward are stucco-clad. Stucco is a porous exterior material that absorbs water, but when a water event happens inside the home against an exterior wall, the drying process doesn’t work symmetrically. The interior drywall gets wet from the inside. The sun hits the stucco from the outside and heats it, which can drive moisture inward into the wall cavity as the exterior dries faster than the interior. A homeowner drying the inside surface only is essentially pushing moisture back into the wall. Professional restoration in stucco-clad San Antonio homes requires moisture mapping to determine which direction the water is moving and placing drying equipment accordingly. Without that mapping, the wall looks dry and stays wet inside.
3. Slab-on-grade construction that holds moisture in the topping slab. Most newer San Antonio construction is slab-on-grade: a concrete slab poured directly on the ground with flooring laid on top. When water saturates engineered wood, laminate, or even tile grout on a slab foundation, the concrete absorbs moisture and holds it. Surface materials feel dry after a week of fans. The slab underneath is still releasing moisture into the air and into whatever was placed on top of it. The result is recurring mustiness, lifting floor planks, or tile that feels damp even on dry days. Professional drying on a slab requires flooring removal in most cases to expose the slab surface to airflow, and moisture testing of the concrete itself before any new flooring goes down. That testing is a multi-step process using a moisture meter designed for concrete, not a surface-level glance.
These three failure modes are the reason we tell homeowners in San Antonio the same thing every time: if the water touched a wall, a floor system, or anything porous, the visible wet spot is the smallest part of the problem. The moisture boundary line, the tide mark, tells you where the water stopped migrating. Finding it is the first thing we do on every job. Drying past it is the second.
The Insurance Conversation Nobody Has Before They DIY
Here’s a scenario we hear about more often than we’d like. A homeowner in San Antonio has a supply line leak under the kitchen sink. They mop it up, point a fan at the cabinet, and figure it’s handled. Three weeks later, the cabinet warps, the baseboard behind it shows a dark stain, and there’s a musty smell. They call their insurance company. The adjuster looks at the claim and asks what was done to mitigate the damage at the time of the event. The answer is, essentially, “we ran a fan.” That answer changes the claim.
Insurance policies almost universally require the policyholder to take reasonable steps to prevent further damage after a covered event. If a homeowner’s DIY drying attempt leaves hidden moisture that causes secondary damage (mold growth, structural rot, delaminated flooring), the carrier has a defensible position that the secondary damage resulted from inadequate mitigation rather than the original covered event. That doesn’t mean the claim is automatically denied. It does mean the settlement gets harder, the process gets longer, and the homeowner carries more of the burden of proving what happened.
If you do handle any portion of a water event yourself, keep records. We can’t overstate how much this matters down the road. Document everything:
- Photographs of the water event before any cleanup begins, including the source if visible.
- Photographs of the affected area after extraction but before drying.
- A written log of what you did and when: time the water was discovered, time the source was stopped, extraction method, fan placement, dehumidifier model and pints-per-day rating, and daily moisture meter readings if you have access to one.
- Receipts for any equipment rented or purchased.
- Photographs of the affected area daily from the same angle, so an adjuster can see the progression.
That kind of documentation does two things. It demonstrates to the carrier that you took reasonable mitigation steps, which protects your claim. And it gives a restoration professional a starting point if the situation escalates. What it doesn’t do is guarantee the drying worked. The only thing that guarantees drying worked is a moisture meter reading below the threshold, and most homeowners don’t have one. If you’re not sure whether your drying effort actually dried the structure, a professional assessment before the secondary damage develops is cheaper than a denied claim after it does.
For the relationship between restoration work and your insurance coverage, see Fire Damage Restoration in San Antonio for how documentation and photo evidence apply to fire claims as well, and what direct adjuster coordination looks like when a professional handles it.
What “Professional” Actually Means in Verifiable Terms
The word “professional” gets thrown around in restoration marketing to mean very little. A truck with a logo is not a credential. A website is not a certification. So here’s what to look for when you’re comparing a professional restoration company against a DIY attempt or against another company, in San Antonio or anywhere else. For a deeper walkthrough, see our guide on How to Hire a Damage Restoration Contractor in San Antonio: A Step-by-Step Guide.
IICRC WRT certification. The Institute of Inspection, Cleaning and Restoration Certification is the organization that sets the training standard for water damage restoration in the United States. The WRT designation (Water Restoration Technician) means the person has completed formal education and passed an exam covering extraction, drying science, moisture measurement, and Category 1, 2, and 3 water handling. This is the baseline credential. If a company cannot tell you who on their team holds WRT certification, keep looking. Our technicians at Tidemark Water Damage San Antonio hold IICRC, RIA, and IFA credentials, and we’ll tell you that up front, not after you ask twice.
Thermal imaging during inspection. A professional restoration scope starts with a moisture map, not a fan. That means a technician walks the affected area with a thermal imaging camera, which detects temperature differentials that indicate moisture behind walls, under flooring, and inside ceiling cavities. The thermal image shows the full extent of water migration, which is almost always larger than the visible stain. If a company quotes you a price without doing a thermal inspection first, the price is a guess, not a scope. A legitimate written estimate includes the total affected square footage based on what the thermal camera and moisture meter actually measured.
A moisture log with dates and readings. Professional drying is measured, not assumed. The technician takes baseline moisture content readings on day one in multiple locations, sets drying targets for each affected material, and takes daily readings that go into a log. The job is done when the readings show materials below the target threshold, not when the technician decides it feels dry. That log is also documentation you can give to an insurance adjuster. It’s a record that the drying was completed to an objective standard.
Written price before work starts. This is not a courtesy. It’s the dividing line between a restoration company that respects you and one that doesn’t. At Tidemark Water Damage San Antonio, every job includes a written price delivered before any work starts, with no surprises on the final invoice. If a company won’t put the number in writing before they start pulling baseboards, walk away. You’re not hiring a contractor. You’re hiring someone who will be inside your home with demolition tools and expensive equipment for several days, and you deserve to know what that costs before it starts.
Learn more about how mold remediation decisions interact with water damage here: Mold Remediation in San Antonio. Or visit our Tidemark Water Damage San Antonio home page for a look at how we approach every job from first call to final photo.
DIY Done Right: The Steps That Actually Work
If you’ve checked the four boxes from the beginning of this Water Damage Restoration Maintenance Checklist for San Antonio Homeowners and you’re confident this is a small, clean, fast-response water event on non-porous surfaces, here’s the sequence that gives you the best chance of success. We’re not going to sugarcoat it: the margin for error is narrow, and if any step here doesn’t go as planned, the professional threshold applies.
Step 1: Stop the source. Shut off the supply valve if there is one. If there isn’t, shut off the main water supply to the house. In San Antonio, the main shutoff is typically located at the meter box near the street or at a hose bib on the exterior wall of the home. Know where yours is before an emergency, not during one. Time spent hunting for a shutoff while water is flowing is exactly how a 6-square-foot event becomes a 60-square-foot event.
Step 2: Photograph everything before you move anything. Insurance documentation starts at minute one. Take wide shots that show the extent, close shots that show the source, and photos from multiple angles. If you skip this step and the DIY attempt fails, you’ve lost your baseline evidence.
Step 3: Extract standing water with a wet-dry vacuum. Use the widest floor attachment you have, and work from the perimeter of the puddle inward so you don’t push water into dry areas. Empty the tank outside, not into a sink, because the outlet drain may be the source of the problem you’re trying to solve.
Step 4: Run a fan and a dehumidifier in combination. The fan creates evaporation by moving air across the wet surface. The dehumidifier removes the moisture from the air so evaporation can continue. Run both. Run them continuously. A dehumidifier alone is slow. A fan alone is just blowing wet air around. Do not open windows to “air it out” in a San Antonio summer. Outdoor humidity will work against you.
Step 5: Monitor every 12 hours. Check for standing water returning, warping, discoloration, or odor. If the surface is still damp after 48 hours, or if any new smell appears, that’s the failure signal. The drying is not working. Stop and call a professional. Wet materials that have been wet for more than 48 to 72 hours are at material risk for mold, and in a San Antonio summer that risk is higher, not lower, than the national average.
One thing to be clear about: this sequence works for tile and sealed concrete. It does not work for drywall, carpet pad, wood flooring, or anything behind those materials. If the water touched those surfaces, the DIY window has already closed.
Common Mistakes to Avoid
- Stopping when the surface feels dry. The surface of drywall or wood can feel dry to the touch while the interior of the material holds 30 percent moisture content. In San Antonio’s humidity, that moisture stays put. The only way to know is with a moisture meter.
- Running a dehumidifier with the windows open. This is an expensive way to dehumidify the outdoors. A dehumidifier works by recirculating air in a sealed space. Open windows in a San Antonio summer add humidity faster than the machine removes it.
- Using a household fan on carpet pad. A box fan pointed at the top of a wet carpet does almost nothing for the pad underneath. Carpet pad is a sponge. If it’s saturated, it comes out. No amount of airflow changes that.
- Waiting to see if it “gets better on its own.” It doesn’t. Water damage is not a sprained ankle. It’s a slow-moving failure process that gets more expensive and more dangerous the longer it runs.
- Believing bleach kills mold inside a wall cavity. Bleach does not penetrate porous materials deeply enough to kill mold roots, and applying it to drywall can actually add more moisture to the material. If mold is present inside a cavity, the affected material comes out. That’s remediation, not cleaning.
- Not documenting the event before cleanup. We covered this earlier, but it bears repeating. The first thing an adjuster asks for is baseline photos. If you don’t have them, your claim starts behind.
- Assuming your policy covers gradual leaks. Many homeowners’ policies cover sudden and accidental water damage but exclude damage from leaks that occurred over weeks or months. If your San Antonio home has a slow, ongoing leak that finally showed itself as a stain, read your policy language carefully before assuming coverage exists.
When to Call a Professional
Call a professional if the water is anything other than clean supply water. Call if the affected area is larger than 10 square feet. Call if water touched drywall, carpet, wood, insulation, or any porous material. Call if the water sat for more than 24 hours. Call if there’s an odor. Call if you see any discoloration, warping, or staining that wasn’t there last week. Call if your insurance claim requires professional documentation. Call if you have any doubt whatsoever about whether the drying is working. We’d rather talk to you on the phone for five minutes and tell you this is a DIY situation than have you lose a wall cavity to a problem you couldn’t see. Tidemark Water Damage San Antonio offers free estimates in San Antonio, call (325) 230-0537.
Frequently Asked Questions
Professional water damage restoration in San Antonio typically ranges from $1,500 to $4,500 for a moderate single-room water event, depending on the size of the affected area, the materials involved, and the length of time water was present. Larger events involving multiple rooms, structural drying, or mold remediation can run significantly higher. Tidemark Water Damage San Antonio provides a written price before any work starts, on every job, so you’ll know the number before a single piece of equipment comes through the door. Call (325) 230-0537 for a free assessment.
You can dry out Category 1 water damage yourself only if the affected area is under 10 square feet, the water sat for less than 24 hours, and only non-porous surfaces like tile or sealed concrete got wet. In San Antonio’s summer humidity, consumer-grade equipment cannot pull enough moisture out of wall cavities or subflooring to reach safe drying thresholds. If you’re outside those conditions, the DIY approach will leave hidden moisture that leads to mold.
Mold can begin growing 24 to 48 hours after water saturates organic materials like drywall, wood, or carpet pad, and that timeline is shorter in San Antonio because warm, humid air accelerates mold germination. The visible mold you see is often growing behind walls or under flooring before it appears on the surface. The way to prevent this is to remove water and reduce moisture content quickly using the right equipment, not to wait and watch.
Most San Antonio homeowners’ insurance policies cover sudden and accidental water damage, such as a burst pipe or an appliance supply line failure, subject to your deductible and policy limits. Gradual leaks that occurred over time, flood damage from rising water, and some categories of water damage may be excluded. Keep photographs and a written log of any response effort, and ask your carrier what documentation they need to process the claim. Professional restoration companies that document their work, including moisture logs and daily readings, make the adjuster’s job easier and your claim stronger.
Water damage restoration focuses on removing water, drying affected materials, and preventing mold from taking hold in the first place. Mold remediation addresses mold that has already established and involves removing affected materials, treating remaining surfaces with antimicrobial products, and addressing the moisture source that allowed the mold to grow. If water damage is dried correctly within the first few days, mold remediation is usually unnecessary. If it isn’t, mold remediation becomes the next step.
At Tidemark Water Damage San Antonio, calls are answered by a live person 24 hours a day, 7 days a week, not a voicemail or a callback queue. Our typical response time in San Antonio is measured in hours, not days, because we understand that in this climate, speed is the difference between drying and demolition. Call (325) 230-0537 any time and you’ll speak to a person who can start the process immediately.
The Bottom Line
The DIY-versus-professional question for water damage in San Antonio is a measurement problem, not a skill problem. If the event is small, clean, fast, and confined to surfaces that don’t hold water, you can handle it with a wet-dry vacuum, a fan, and a dehumidifier. If it’s anything beyond that, the tools you’d need to do it right are not available at retail, and the cost of getting it wrong is a wall cavity full of mold, a denied insurance claim, or both. When you’re not sure, call us before you make the call to DIY. We’ll tell you honestly which path you’re on and what the written price looks like before anyone starts work. For more guides & resources on protecting your home, explore our blog.
Written by Rick Sumner, Owner at Tidemark Water Damage San Antonio, serving San Antonio since 2006.
See the difference
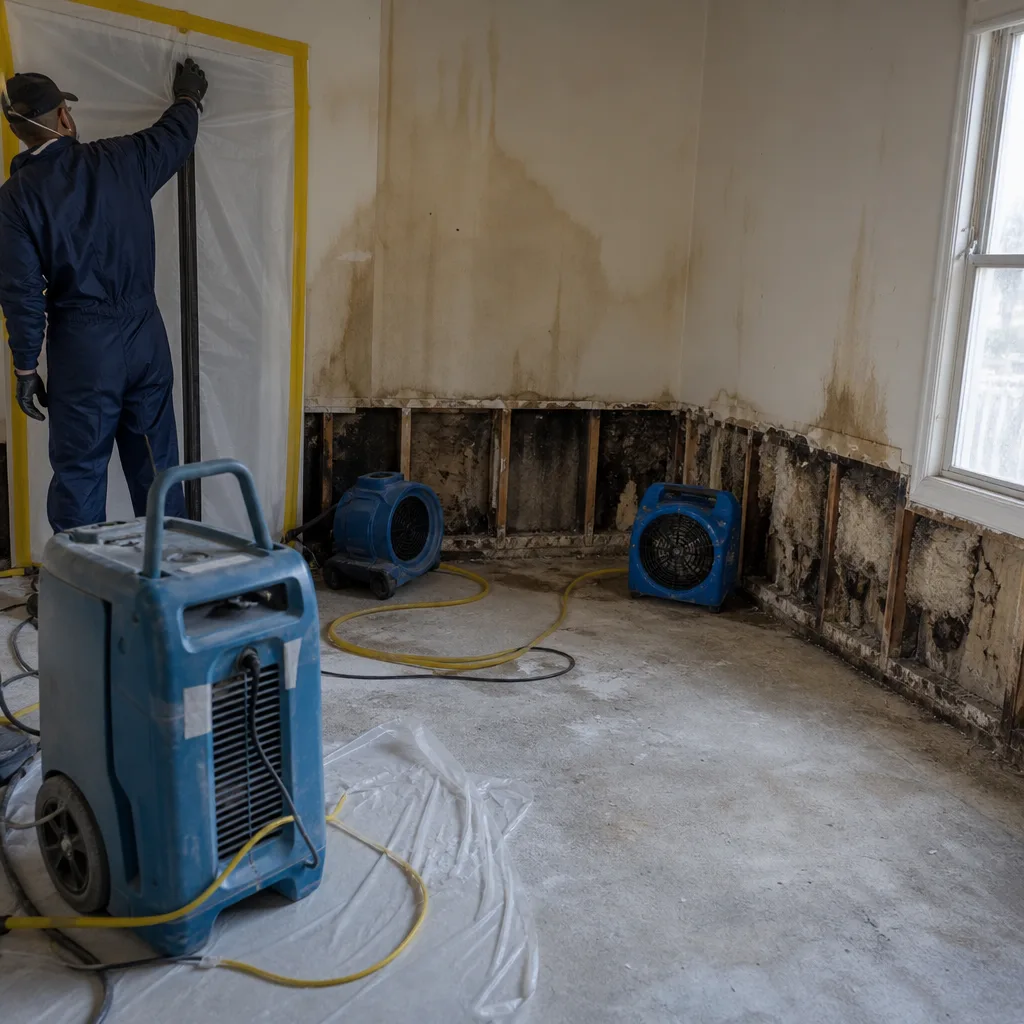 Before
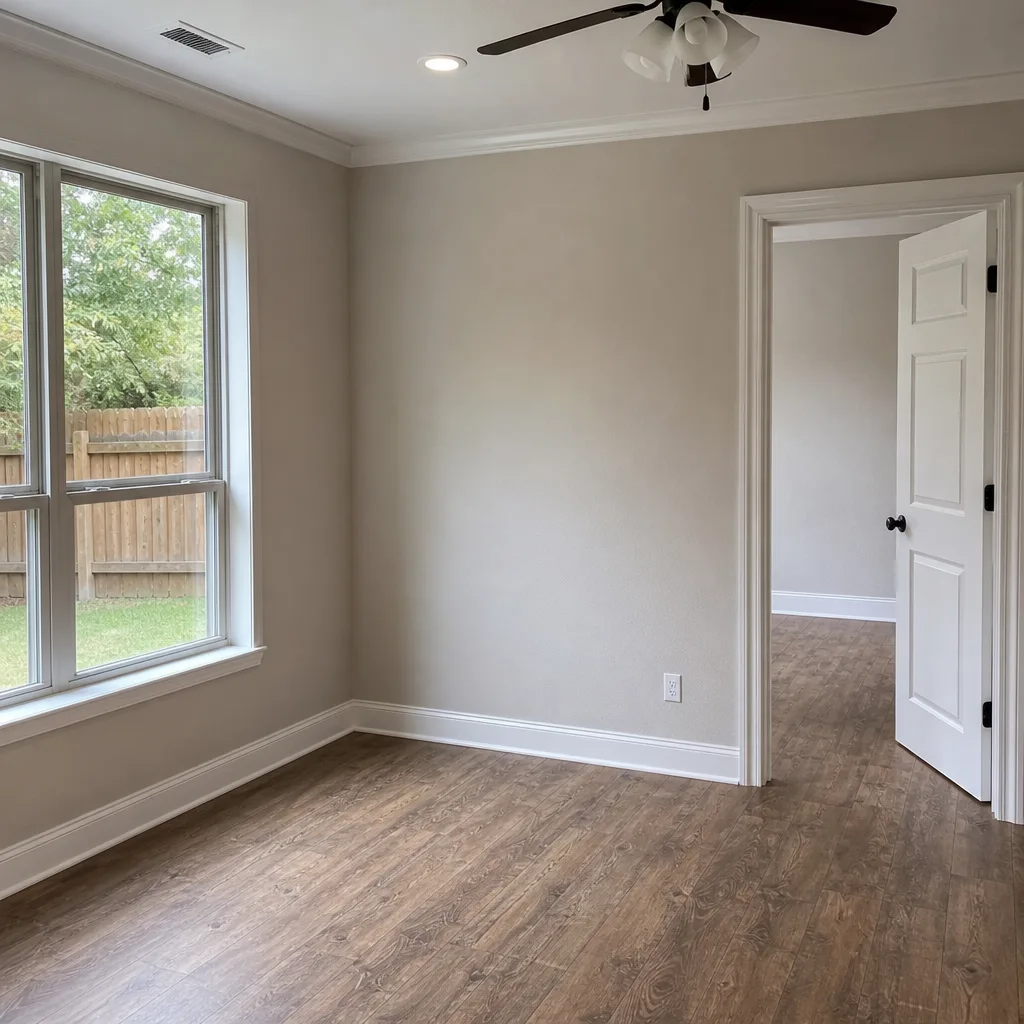 After
After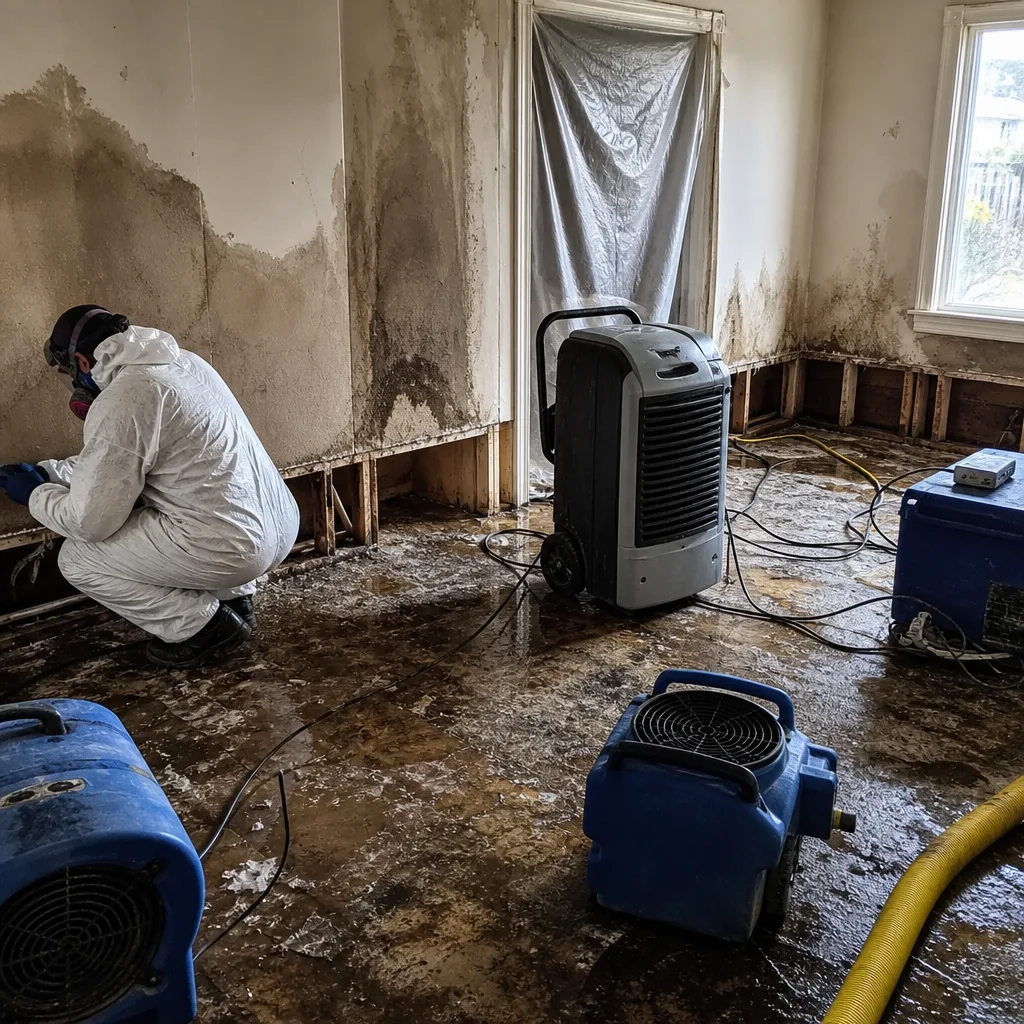 Before
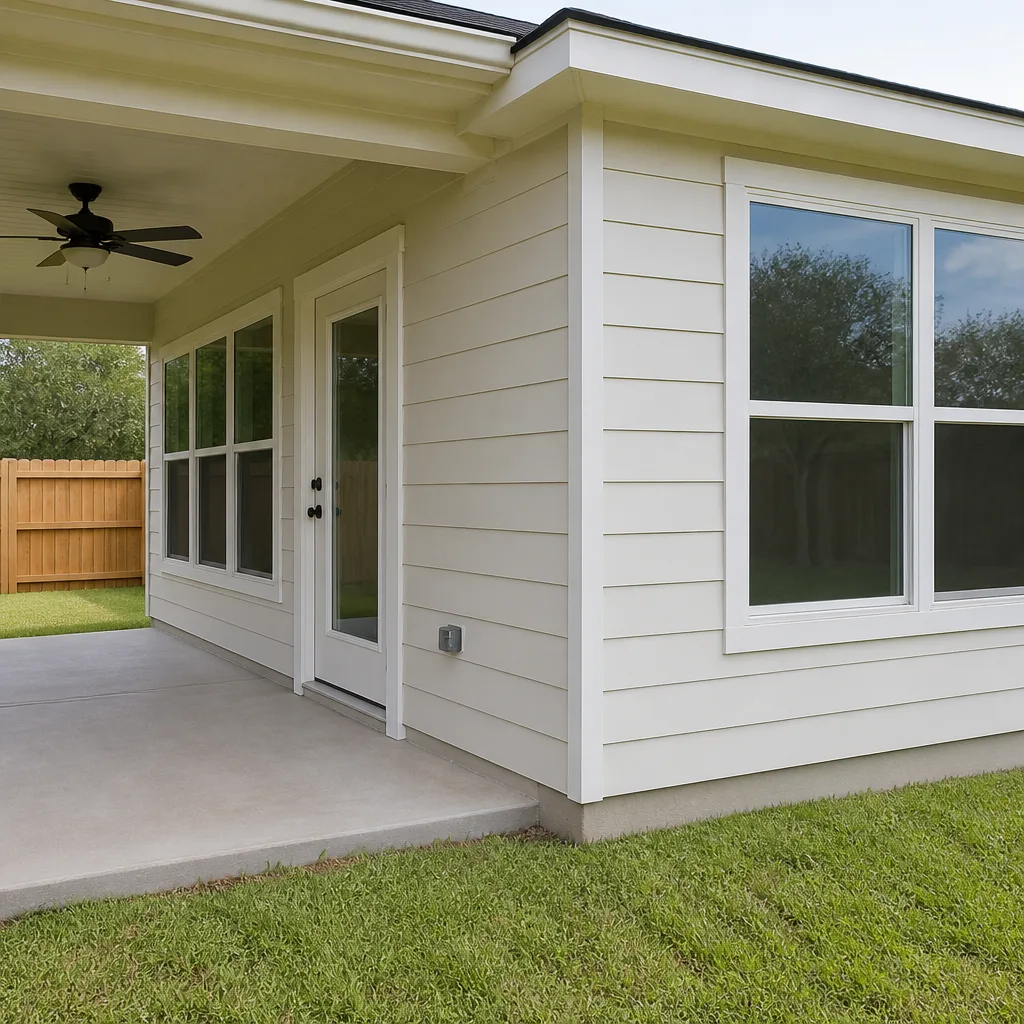 After
After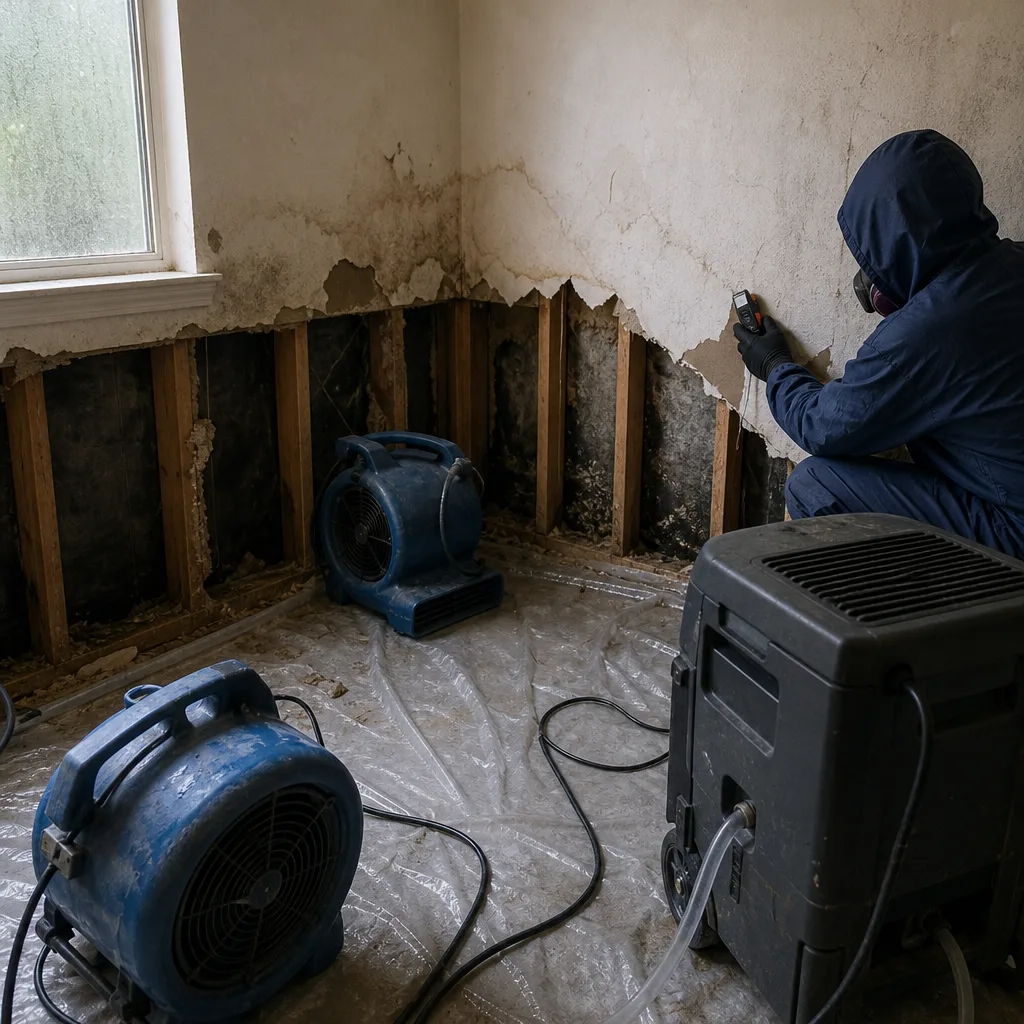 Before
 After
After